Showing posts with label painting demo. Show all posts

Sunday, September 20, 2099

Welcome to WOC Studios!

Welcome to William O'Connor Studios!
The Art of William O'Connor


Author/Illustrator of the best selling Dracopedia book trilogy, as well as illustrator of over 5000 illustrations for the gaming and publishing business, William OConnor's 25 year career has allowed him to work with such companies as Wizards of the Coast, Impact Books, Blizzard Entertainment, Sterling Publishing, Lucas Films, Activision and many more. Winner of over 30 industry awards for artistic excellence including 10 contributions to Spectrum: The Best in Contemporary Fantasy Art and 10 Chesley Nominations. William has taught and lectured around the country about his unique and varied artwork as well as being a regular contributor to the popular art blog Muddy Colors and exhibiting his work at such industry shows as Illuxcon, New York Comic Con and Gen Con. 

William now lives with his family and keeps his studio in New York. 

 ____________________________________________


Wednesday, October 12, 2016

Joan of Arc: Part 4 Finish


The Maid of Orleans
2016
24"x48"
oil on wood panel


The completion of my painting Joan of Arc was delayed by a series of personal misfortunes.  I broke my foot this past spring and was confined to crutches for two months, followed by a case of pneumonia which landed me in the hospital for a week.  After what seemed an intolerable convalescence I was finally able to get back to work on the painting in June.  The first week in August I had completed the painting and was able to bring it to Gen Con in Indianapolis where it received glowing reviews from friends and fans.  At the end of August the painting was displayed again at The Delaware Art Museum in Wilmington where it had acquired a distinctive frame. 
This month I was finally able to get the painting professionally photographed in order to document and share the painting to its best effect.

The final details of this painting were possibly the most important and rewarding stage of the work.  Compositionally designed to be graphic, the finishing details are what brought the piece to life.  Each form of the image was individually detailed with painstaking brushwork to create a patchwork quilt of textiles, metal, leather, chainmail and gold brocade.  In this respect the painting achieved the Gothic impression that I was striving for, stitched together like a tapestry.

I hope you enjoy the details work as much as I enjoyed working on them.  During the week of October 20-23, 2016 I will be attending Illuxcon in Reading, PA.  I hope you get the chance to come see the work I in person.

Enjoy

WOC


 Maid of Orleans- Detail


Sunday, February 28, 2016

Joan of Arc: Part 3 Color

William O'Connor


As promised I am still working on my very large St. Joan painting when I find the time.  Above is the most recent phase up to this date in the process.

This phase is my underpainting stage.  Below you can see the process of laying on the paint.  I begin with a tonal painting of acrylic.  I chose acrylic because of the sheer square footage of surface and the drying time and fumes that would be created by this stage in oil.  Once I am satisfied with the forms I're created of positive and negative shapes I can begin separating some of the objects into colors. At this point I switch into oil.  The difficulty is to know when to switch, because once you start with oil you can't go back to acrylic.  This process is fairly quick, scrubbing in shapes and forms of color.  I'm not concerned about detail.  This is still the same technique that I was taught as a student.  My teacher used the analogy of a sculptor and a block of stone.  Work the whole painting at the same time, bring it into focus slowly. That old adage of the sculpture being locked inside the marble and its up to the sculptor to remove the unnecessary parts.  This is more additive than marble carving, but the theory is the same.  I can picture what it will look like, I just have to put all the brush strokes in the right places in the right order.

Enjoy

WOC


Wednesday, December 9, 2015

Joan of Arc: Part 2 Final Drawing

by 
William O'Connor

"Joan of Arc" Graphite and Gesso on Wood Panel 24"x48"

My Joan of Arc painting is progressing quickly, but when the Muses strike you have to work!

I began by griding off my gessoed panel in order to enlarge the sketch to the board, but immediately realized that this was not a technique that was going to work.  Using the grid technique is ideal when blowing up photographs to eliminate distortion in the proportions, but for this drawing the proportions had already been composed, and the grid would take too long.


Instead, I used a technique that I have been employing for years.  I blew up the sketch in the computer to the size I needed and printed out the image on a series of 11"x17" sheets.  Tiling them together I used a 6B graphite block to blacken the backside.  Positioning the carbon copy over the panel I used a red ballpoint pen to trace the sketch onto the surface of the panel.  I use red so that I can keep track of the transfer work.


Once the sketch has been roughly transferred I begin drawing the details onto the panel.  At this point I adopted a medium that I had never used before.  Super Heavy Gesso.  This material has the consistency of thick oil paint, but dries in a matter of minutes with a smooth chalk-like surface that is ideal for drawing on.  Instead of erasing my corrections I spackled the heavy gesso like joint compound with a palette knife adding dimension to the surface while rendering detail with the pencils.  Spot sanding the gesso smooth is also very quick and simple.  I had never used this technique before, but the physicality of sculpting the painting was very enjoyable, allowing me to make large changes quickly.


To the detriment of my bad back I spent many hours rendering details and repositioning elements.  Researching Latin phrases for the banner and finding medieval ornaments that complimented the costuming.  The biggest changes I made was that I positioned the figure of Joan more towards the center, in order to replicate the symmetry of Gothic equestrian paintings, entering the banner logo so to create a halo element behind Joan's head, and repositioning the dove to add movement into the composition.

At this point I have done all the work necessary to begin painting.  After a three day drawing marathon my back is giving out and I need to take a break! Much of this detailing will be obscured by subsequent layers of paint, but will act as a guide as I move forward.


Keep watching to see how it progresses.

Enjoy


WOC

Below I have added some of the reference that I am using as inspiration for this painting.


Monday, December 7, 2015

Joan of Arc: Part 1

By William O'Connor


Once again I have begun a large scale personal painting project, and once again I thought that I would share my process with the public.  The advantage of a personal piece is that I am free to share the process in "real time" without the constraints of an NDA.

Recently I wrote a blog about Joan of Arc at Muddy Colors.  The research that I did included a great deal of work to understand this historical, religious figure and her context to art and history.  This extensive study made me want to try to do an image of St. Joan myself.

"Joan ofArc" 10"x20" graphite on paper

"Joan of Arc" 10"x20" graphite and digital

I did a variety of sketch comps until I came up with one that I was happy with.  This sketch included the elements that I was trying to explore.  A Gothic sense of grandeur including all the heraldry and pomp of the 100 years war, as well as the austerity of an altarpiece from the 15th century (ala: Van Eyck).

I developed a color comp using the computer over the sketch and decided that this was a piece that could be a successful painting.  I wanted the piece to have the size to accommodate all the intricate details I envisioned, and the gravitas to do homage to the subject.

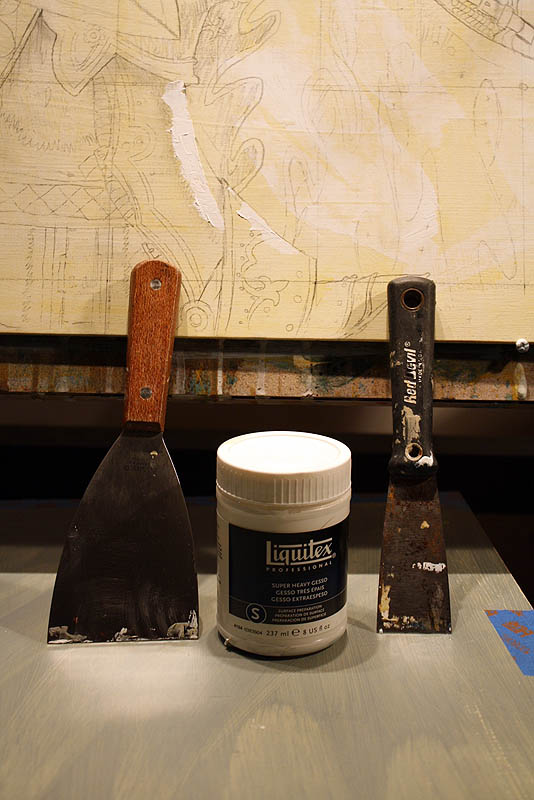
I settled on a 24"x 48" format using birch panel.  This was both a creative and practical decision.  24"x48" is a little more than double the size of the sketch, and conveniently is the size of panel that comes pre-cut from the local home supply store.  My experience with wood panel in the past has been that any cutting with a circular or table saw produces a shivered edge, so this eliminated that problem.  I have never used wood panel before (preferring hardboard) but I thought I would use this support for its light, rigid and economical benefits.  The hard surface should prevent any chips and corner damage, and many of my colleagues have recommended it.  I gave the panel three coats of gesso, sanded smooth, the last lightly tinted with Yellow Ochre to eliminate the glaring white.

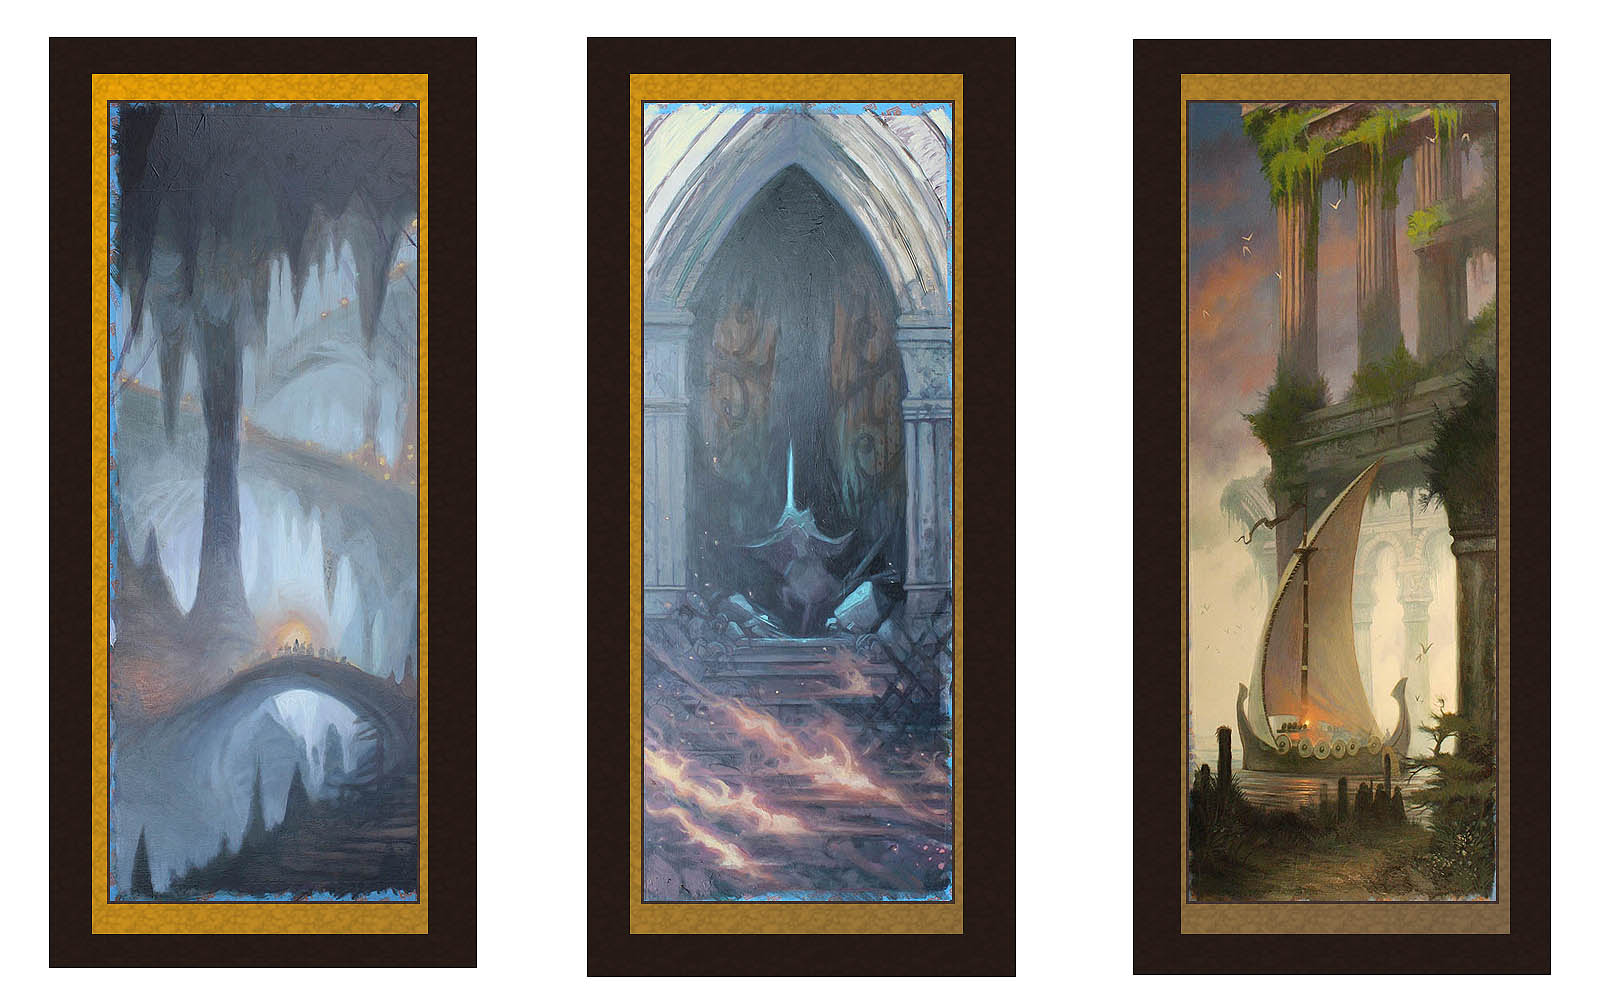
This painting will be approached very differently than my last online painting "The Gandalf Triptych".  With this image I have already settled on a composition, color design and general detailing, which in the last painting was not decided until the final phase of the work.

Joan of Arc drawing with gessoed panel


With an overlay of acetate gridded-off with two inch squares over the drawing I'm preparing to transfer the drawing to the sized panel.  This sketching stage will be very labor-intensive because of the amount of detail that I've designed, but I hope will save me work in the long run.  At over 1000 square inches this will be the largest painting I've embarked on in over 15 years.  I have no deadline, so I have no estimate of when it will be completed.  Now comes the hard part. Wish me luck!

PS.  I'm still toying with the title: "Joan of Arc"; "St. Joan of Arc"; "Joan d'Arc"; "Jeanne d'Arc"; and "The Maid of Heaven".  Please leave any questions or suggestions in the comments section.

Keep watching and follow to see the next stage when its complete.

Thanks


WOC


Monday, November 23, 2015

The Gandalf Triptych-Part 6: Finish

by
William O'Connor


Finally Finished!!

Those of you that have been following the journey that I have been making with this painting for the past 6 months have been wonderfully supportive.  The Gandalf Triptych was completed and debuted at the Illuxcon Exhibition in October, and the reception they received was wonderful!  The set was sold to a private collector, and I shipped them off a couple of weeks ago to their new owner.

Its been many months since my last blog about this painting, because as I said, it would probably take as much time to complete the details as all the steps up to that point combined, which turned out to be true.  Details, Gold Border and Frames were all decided within the last month of the work.

I'm very pleased with the result.  This was a challenge that I gave myself to try to challenge what I could do as an artist.  Three paintings that would would work individually and as a set.  There were points in the process where I considered quitting, but I slogged through it and finished what I started. Posting the process with no knowledge of the outcome was an added challenge.  I learned a lot along the way, I hope some of you did too about the work that artists put into their creations.  The painting is the work, and the final product is only the veneer of the process.

Enjoy.

WOC

Gandalf Triptych Part1 Mines of Moria
©2015 William O'Connor

Gandalf Triptych Part2 Minis Tirith
©2015 William O'Connor

Gandalf Triptych Part3 The Grey Havens
©2015 William O'Connor


 all images and text are © Copyright William O'Connor and William O'Connor Studios

Monday, July 20, 2015

The Gandalf Triptych- Part 5

William O'Connor

Gandalf Triptych work in progress with rough layout of framing and display mock-up

It has been a bit over two months since my last update about the Gandalf Triptych that I've been working on in my free time.  Free time is something is hard to come by.  Currently proofing a new book due out in the fall and another due out in August has kept me busy and not painting, but as promised I have made progress.

I've moved into the Focussing Phase of the paintings.  This is where the design, lighting and underpainting is completed, and now its time to begin refining details and making smaller decisions.  This is one of the hardest parts of painting because what starts out as what appears to be a sloppy mess, begins to come into focus as a storytelling picture, and where I'm most likely to give up and put into my slush pile of unfinished work.

This is very much the adolescent phase of a painting, that every parent of a teenager knows all to well.  Conception was the easy part, the growing pains and sleepless nights of early childhood are over, but now its all clumsy, awkward,  emotionally distraught pangs of pimply shyness that argues with you at every turn.  You think it will never get its act together and turn out okay.  But, as every artist and parent will tell you, it all will be okay.  Every painting goes through that phase to become the mature, young adult you hoped it would be and you begin to see the adult painting it will become.

Here are a few pics of the triptych as they are now.  Click to enlarge and see details.

The next and final painting phase will be the Detail Phase where glazes and details are rendered to finish the pieces.  This will be the most time consuming, but least stressful, since all the creative decisions have all been made.

Enjoy


WOC

Grey Havens Pt.1
Grey Havens pt.2
The Gates of Minith Tirith

Cave of the Goblin King


Monday, May 4, 2015

Scroll Landscape: Part 4 (The Gandalf Triptych)

William O'Connor

The scroll trilogy paintings are starting to come into focus.  I think I can officially rename the piece from the ambiguous "Scroll Landscapes", to "The Gandalf Triptych."

In order to echo more of a Japanese aesthetic, I consider the concept of including a frame painted into the design.  I have never done this before, and I'm not sure on how it will be fulfilled, (whether a painted frame or applied graphic or even gold gilding.)  But I've masked off the appropriate surround with tape to include this into the design. If this concept does not work out I can always paint over it later.

Pressing onward I begin the "Pushing Paint" phase of my painting.  This is just what it sounds like and is just as fun.  Since all three pieces are to be interrelated, I'm painting them together, and once again being influenced by my Japanese source material, I'm picturing a very monochromatic gray tonal image for all three. 

Gray-Blue-Green.  This is a great undertone for covering the canvas.  It lends itself to tonal mood, and atmosphere, while can also be easily punctuated with colors leading into the purple-violet-red scale allowing popping orange-yellow highlights of fire and light to accent the design.  This will also stand out very nicely with the envisioned gold-gilt framing.

Here I'm pushing the design's value scale from mid tone washes into a misty cool background with deep rich foreground elements.  This "Pushing Paint" stage is still very abstract and loose.  My intent is to get the entire canvas covered with paint.  This is not one of those paint-by-number paintings, where you first paint the face, then paint the tree, then paint the cloak, then paint the hair, etc. and follow the steps until its done.  I'm designing as I go, carving and softening edges and shapes and forms out of paint until the positive and negative elements work individually and as a triptych.  This is both thumbnail and painting at the same time.  The lump of clay beginning to take shape.  I'm trying to create a mirror image in the left and right panels, with the Mines of Moria and the Ruins of the Gray Havens having similar shapes. The central panel is symmetrical.

Still early days.  Keep posted to see what happens next!

Enjoy 

WOC